

You’ve inherited a codebase. It’s been running in production for years. It’s critical to the business. And it has zero automated tests.
Making any change is terrifying. How do you know you didn’t break something? How do you add tests when the code wasn’t designed for testing? This is the legacy code dilemma.
Michael Feathers, author of Working Effectively with Legacy Code, famously defines legacy code as “code without tests” . The good news: you can break the cycle. Here’s how.
The Short Answer
To test legacy codebase with zero tests, start by adding characterization tests (also called Golden Master or approval tests). These tests capture the current behavior of the system without judging whether it’s “correct.” You run the code with realistic inputs, record the outputs, and use those as your baseline. Once you have this safety net, you can refactor and add more specific unit tests.
Why Legacy Code Has No Tests (And Why It Matters)
Legacy code often lacks tests for several reasons:
| Reason | Impact |
|---|---|
| Testing wasn’t a priority when the code was written | No safety net for changes |
| Deadline pressure pushed testing aside | Bugs compound over time |
| Code wasn’t designed to be testable | Dependencies make it hard to isolate |
| Fear of changing the code | The legacy code dilemma: to test, you must change; to change safely, you need tests |
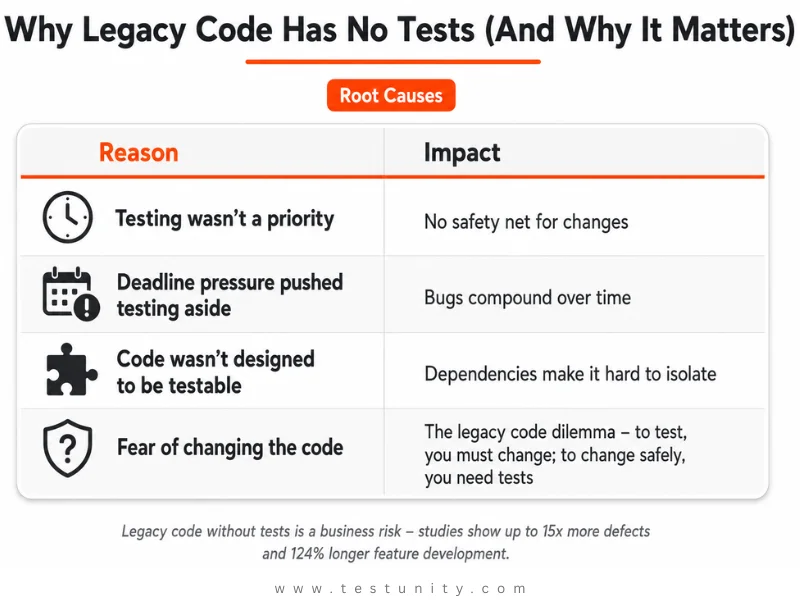
The risk of untested legacy code is real. A study found that poorly maintained codebases can have up to 15 times more defects and extend feature development time by as much as 124% .
“Legacy code is code without tests. It’s extremely challenging to change code that doesn’t have tests.”
Step 1: Start with an End-to-End Test
Before making any changes, add a simple end-to-end test that exercises the entire codebase with representative inputs and verifies the output.
How to do it:
-
Identify a common use case that the system handles
-
Prepare a sample input (e.g., a test file, API request, or database state)
-
Run the code and capture the output
-
Write a test that runs the code with the same input and compares the output to your captured baseline
Example (simple script):
python legacy_script.py input.txt > output.txt
cmp output.txt expected_output.txt
This gives you immediate feedback when changes break existing behavior.

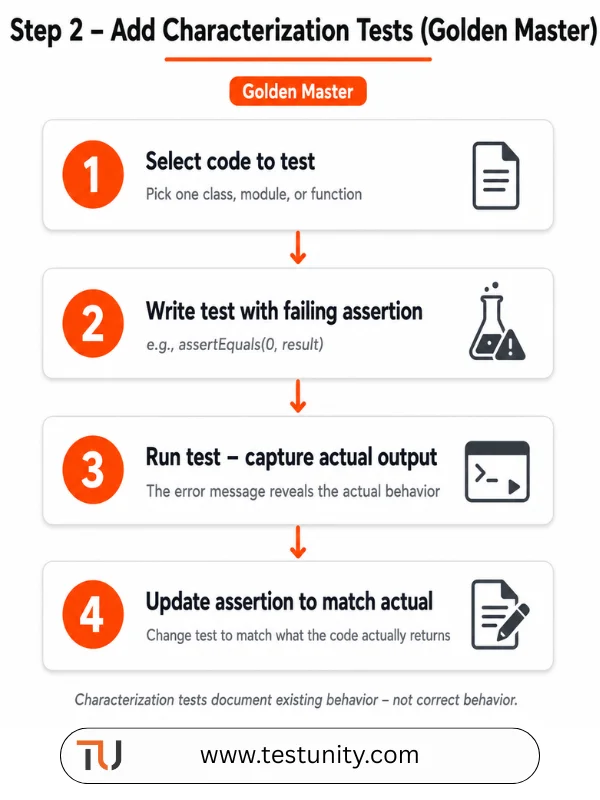
Step 2: Add Characterization Tests (Golden Master)
Characterization tests document the actual behavior of the code – not what it should do, but what it actually does.
The process:
-
Select the code you want to test – pick one class, module, or function
-
Write a test with an assertion you know will fail – e.g.,
assertEquals(0, result) -
Run the test – the error message reveals the actual behavior
-
Update the assertion – change it to match what the code actually returns
-
Repeat with different inputs – build coverage gradually
Key rule: Characterization tests verify existing behavior, not correct behavior. If the code has a bug, the test documents it. You fix the bug later, after you have a safety net.
Golden Master Testing (Approval Testing)
A powerful form of characterization testing is Golden Master (also called approval testing).
How it works:
-
Generate random or representative inputs (using a fixed seed for reproducibility)
-
Run the system with these inputs and record all outputs – this is your “Golden Master”
-
Review and approve the outputs (save them as
.approvedfiles) -
When you change the code, run the test again – if outputs differ, you’ll see a diff
Example with ApprovalTests (Java):
@Test
public void should_generate_update_quality_output() {
    List<Item> items = generateRandomItems(2000);
    gildedRose.updateQuality(items);
    Approvals.verify(getStringRepresentationFor(items));
}
The first run creates a .received.txt file. If you’re happy with the output, you rename it to .approved.txt. Subsequent runs compare against it.
Advantages of Golden Master testing:
| Advantage | Why It Matters |
|---|---|
| Easy to implement on complex legacy systems | No need to understand all the logic upfront |
| Great for complex outputs (PDFs, XML, images) | Checking all attributes with assertions is impractical |
| Provides a safety net for refactoring | You can make changes confidently |
| Works in any language without tooling | Simple file comparisons |
Disadvantages to watch for:
| Disadvantage | Mitigation |
|---|---|
| Depends on repeatability | Mask non-deterministic values (timestamps, IDs) |
| Doesn’t infer correctness | Only detects changes – use human judgment |
| Can generate massive files | Use intelligent sampling |

Step 3: Break Dependencies to Enable Testing
Legacy code often has dependencies that make it impossible to test in isolation: database connections, file systems, network calls. You need to break these dependencies.
The “Seams” technique:
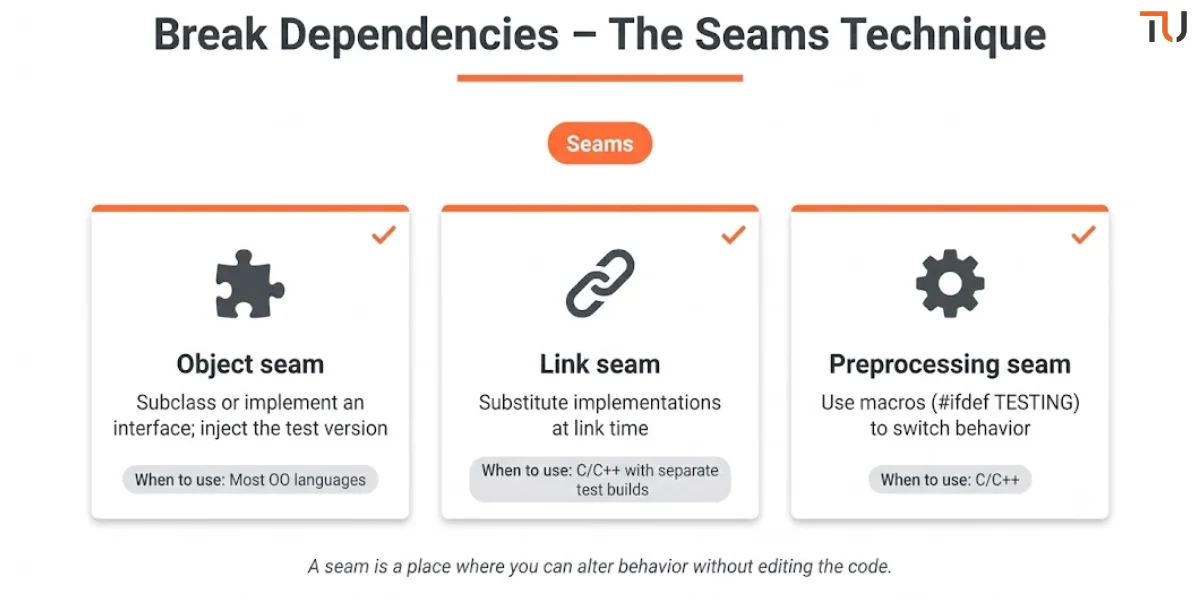
A seam is a place where you can alter behavior without editing the code at that location. Every seam has an enabling point – where you decide which behavior to use.
Types of seams:
| Seam Type | How It Works | When to Use |
|---|---|---|
| Object seam | Subclass or implement an interface; inject the test version | Most OO languages |
| Link seam | Substitute implementations at link time | C/C++ with separate test builds |
| Preprocessing seam | Use macros (#ifdef TESTING) | C/C++ |
Example (Object seam – Java):
// Production code depends on a database connection
public class OrderProcessor {
    private Database db;

    // The enabling point – constructor injection
    public OrderProcessor(Database db) {
        this.db = db;
    }
}

// Test code injects a fake
public class OrderProcessorTest {
    @Test
    public void testProcessOrder() {
        FakeDatabase fakeDb = new FakeDatabase(); // implements Database
        OrderProcessor processor = new OrderProcessor(fakeDb);
        // ... test logic
    }
}
For dependencies that are hard to break, use fake objects – simplified implementations that emulate the dependency sufficiently for the test.
Step 4: Use the Legacy Code Dilemma Loop
When dealing with legacy code, you face a cycle:
“When we change code, we should have tests in place. To put tests in place, we often have to change code.”
How to break the loop:
-
Identify the change you need to make – what exactly must change?
-
Identify the points to test – which classes or functions are involved?
-
Break dependencies so the code can run in a test harness
-
Write tests using characterization/Golden Master
-
Make the change with the safety net in place
-
Refactor the code to make it more testable over time

Step 5: Add More Specific Tests After Refactoring
Once you have a characterization test safety net, you can start adding more specific unit tests.
The evolution:
-
Start with end-to-end tests – broad, slow, but cover the whole system
-
Add characterization tests – document the current behavior
-
Break dependencies – introduce seams, fakes, mocks
-
Add focused unit tests – test individual classes or functions
-
Refactor incrementally – improve design, replace the safety net with better tests
Tip: As you refactor and add real unit tests, you can eventually retire some characterization tests. They’ve done their job.
Real‑World Example: Testing a Database-Centric Legacy System
A Codurance team faced a legacy system with no tests that was heavily dependent on a database. Here’s how they approached it:
-
Started manually: Wrote a single scenario by hand – setting up tables, invoking the code, checking results
-
Hypothesized and experimented: Could they automate the setup from the input data?
-
Built an automated solution: They recorded what the production code did to the database
-
Generated tests automatically: Each test contained the input and the expected DB state
-
Achieved massive time savings: 10 manual tests took 2.5 hours; 1,000 automated tests took 1 hour 40 minutes
How AI Can Help Test Legacy Code
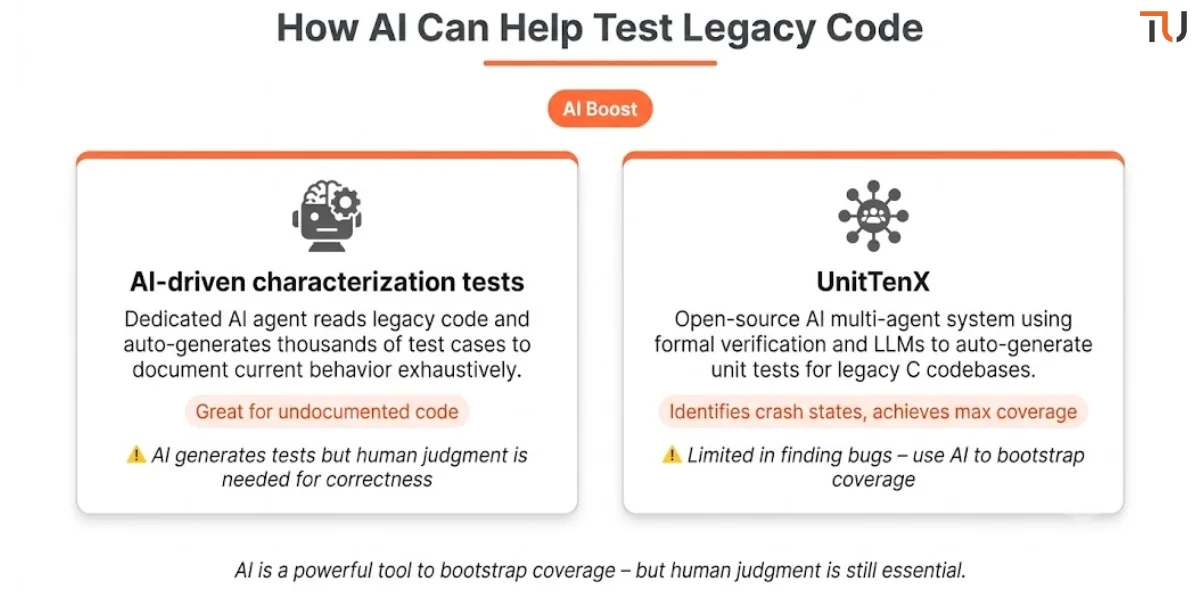
Recent advances in AI offer new ways to tackle legacy code testing.
AI-driven characterization tests: A dedicated AI agent can read the original legacy code and auto-generate thousands of test cases designed to document current behavior exhaustively. This is particularly valuable when the code has no documentation and you don’t know all its edge cases.
UnitTenX: An open‑source AI multi‑agent system that uses formal verification and large language models to automatically generate unit tests for legacy C codebases. It identifies crash states and creates tests that achieve maximum coverage.
Caution: AI can generate tests but is limited in finding bugs. Use AI to bootstrap coverage, but rely on human judgment for correctness.
Summary: Your Legacy Code Testing Checklist
| Step | Action | Time to Implement |
|---|---|---|
| 1 | Add an end-to-end test (realistic input, baseline output) | 1–2 hours |
| 2 | Run characterization tests – capture current behavior | 1 day |
| 3 | Try Golden Master testing – generate random inputs, record outputs | 1–2 days |
| 4 | Break dependencies with seams and fakes | Varies |
| 5 | Refactor incrementally with the safety net | Ongoing |
| 6 | Add real unit tests for new changes | Ongoing |
What If You Need Professional Help?
Testing a legacy codebase is one of the most challenging tasks in software engineering. If you’re stuck, TestUnity’s Quality Assurance services can help. We assess legacy codebases, implement characterization test suites, and train your team to maintain them.
Need expert help with legacy code? Contact TestUnity today for a consultation.
Related Resources
-
Risk‑Based Testing: Prioritizing QA Efforts – Apply to legacy modules
-
What is a Test Strategy? Complete Guide – Strategy for legacy systems
-
How to Write Effective Test Cases – Foundation for adding tests

TestUnity is a leading software testing company dedicated to delivering exceptional quality assurance services to businesses worldwide. With a focus on innovation and excellence, we specialize in functional, automation, performance, and cybersecurity testing. Our expertise spans across industries, ensuring your applications are secure, reliable, and user-friendly. At TestUnity, we leverage the latest tools and methodologies, including AI-driven testing and accessibility compliance, to help you achieve seamless software delivery. Partner with us to stay ahead in the dynamic world of technology with tailored QA solutions.





Leave a Reply